| Back to Main List |
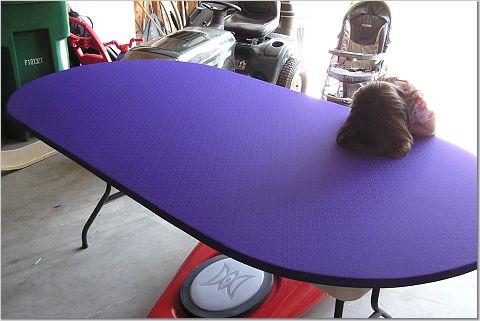
Center the fabric over your wood. This is how much slack I ended
up with. Doing the measurements at various spots ensured that the wood was
centered properly.
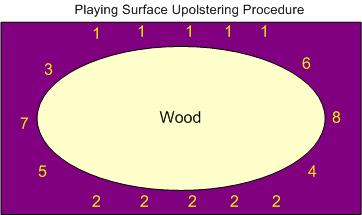
Get on the floor underneath the table and start folding over and stapling the slack on the length of one side. (See procedure diagram below) Don't worry about wrinkles at this time. Just try to keep the underside neat and consistent. The slack ended up almost directly against the second oval of wood I added for stability.
Then get under the opposite side and do the same thing. This time pull the cloth a little to ensure a wrinkle free surface. Do the same thing for the rest of the table. Staple one side snugly, then pull and staple the opposite side. It's not a difficult process, just time consuming. Don't Rush, Speed Kills.
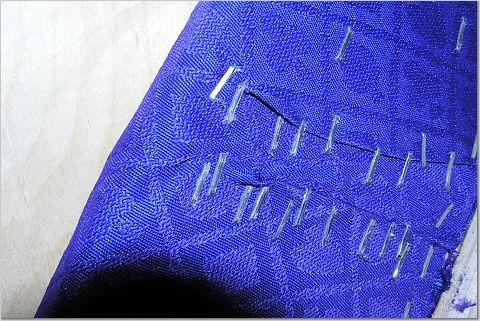
When doing the corners, you have to make little folds on the underside of the table. It's kind of like wrapping a Christmas Present with a staple gun. Use lots of staples. If you make mistakes, (when you make mistakes), use a small flat head screwdriver to carefully pry the staples out. Use a hammer to nail in the staples that are are not flush with the wood. When you're done take a razor and cut off the excess fabric along the base of the second piece of wood.
This is how it the playing surface turned out:
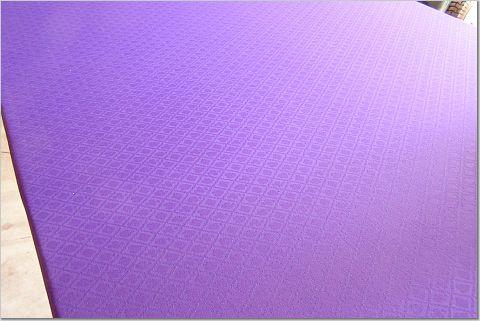
Ahh.. That new table smell: